Git workshop2
สร้าง Repository บน github
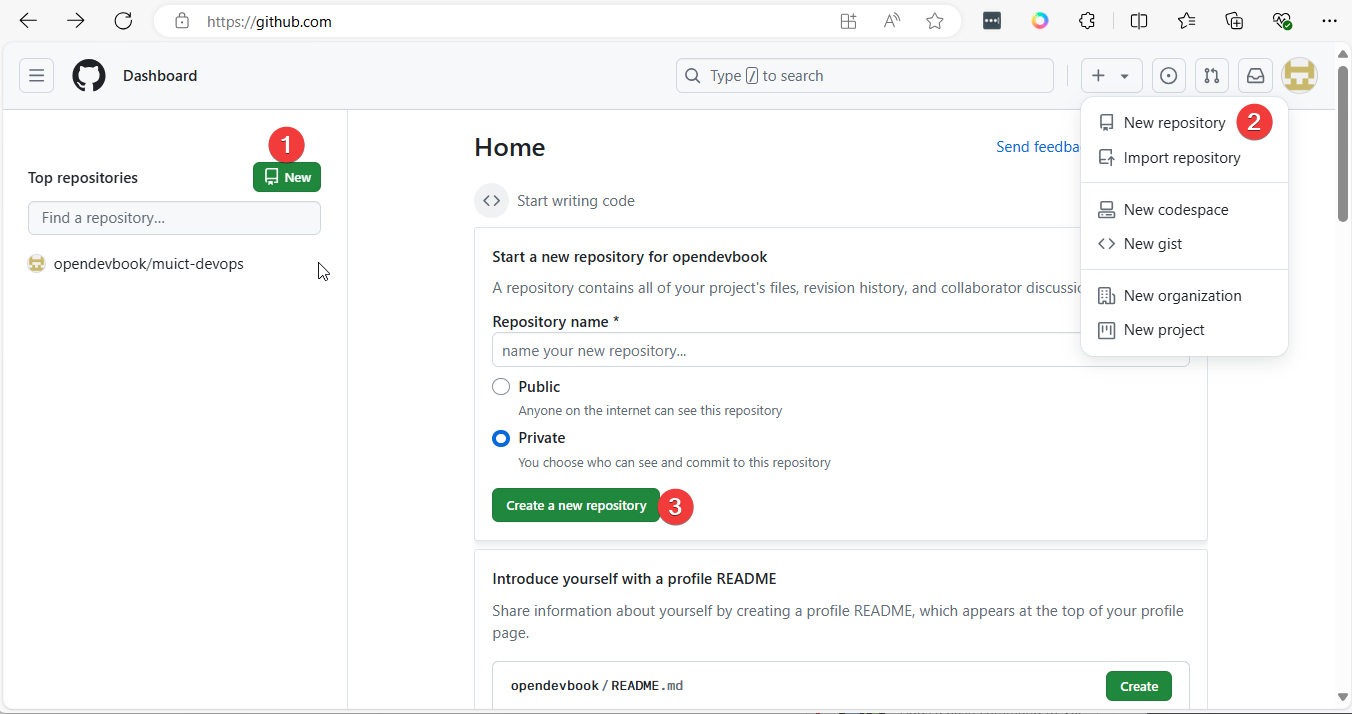
กรอกข้อมูล
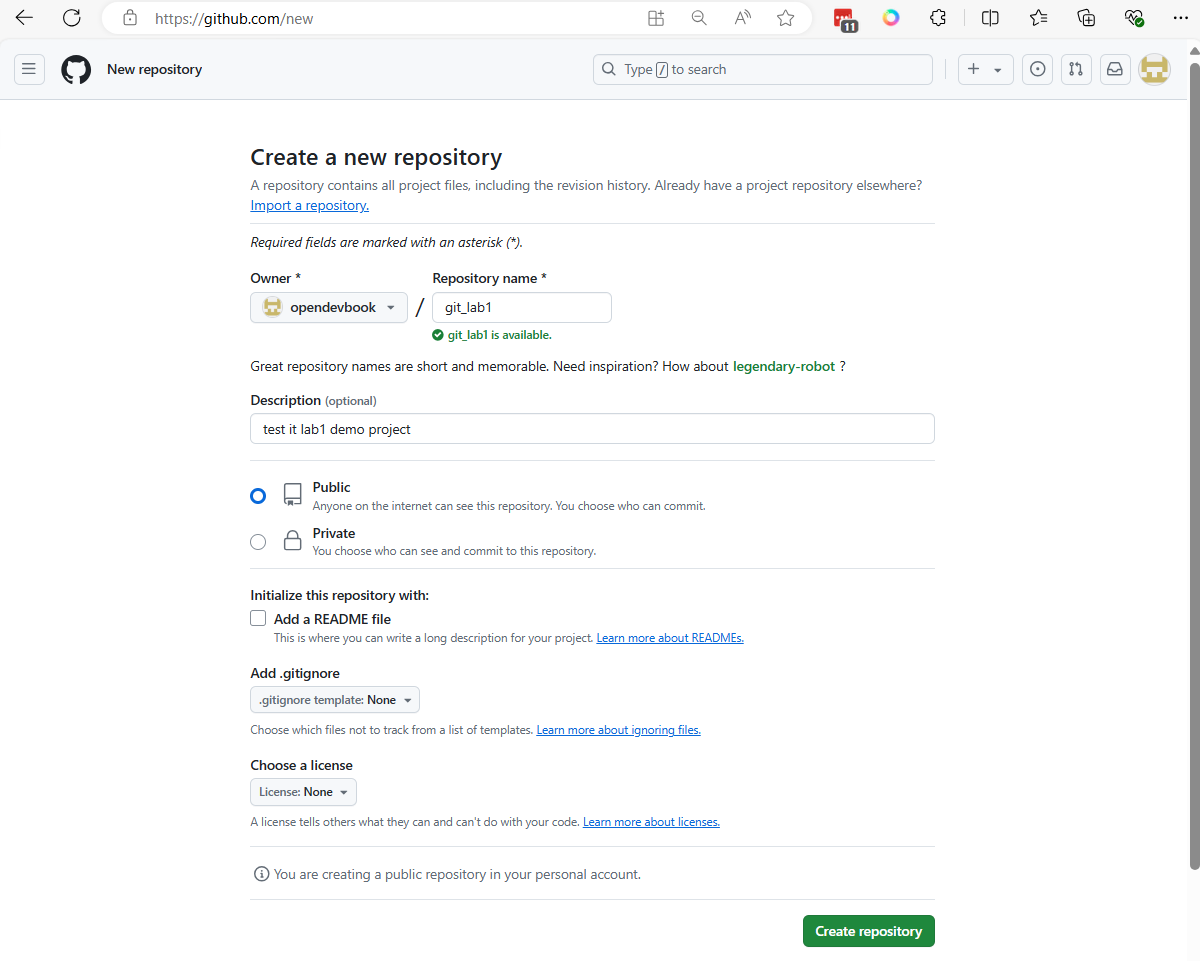
ยังไม่ต้อง Add a README file option จะทำให้ ได้ Reposity ที่ว่างๆ ต่อมา github จะแสดงค่า ค่า setup เพื่อให้เราไปสร้าง git remote ในเครื่อง logo
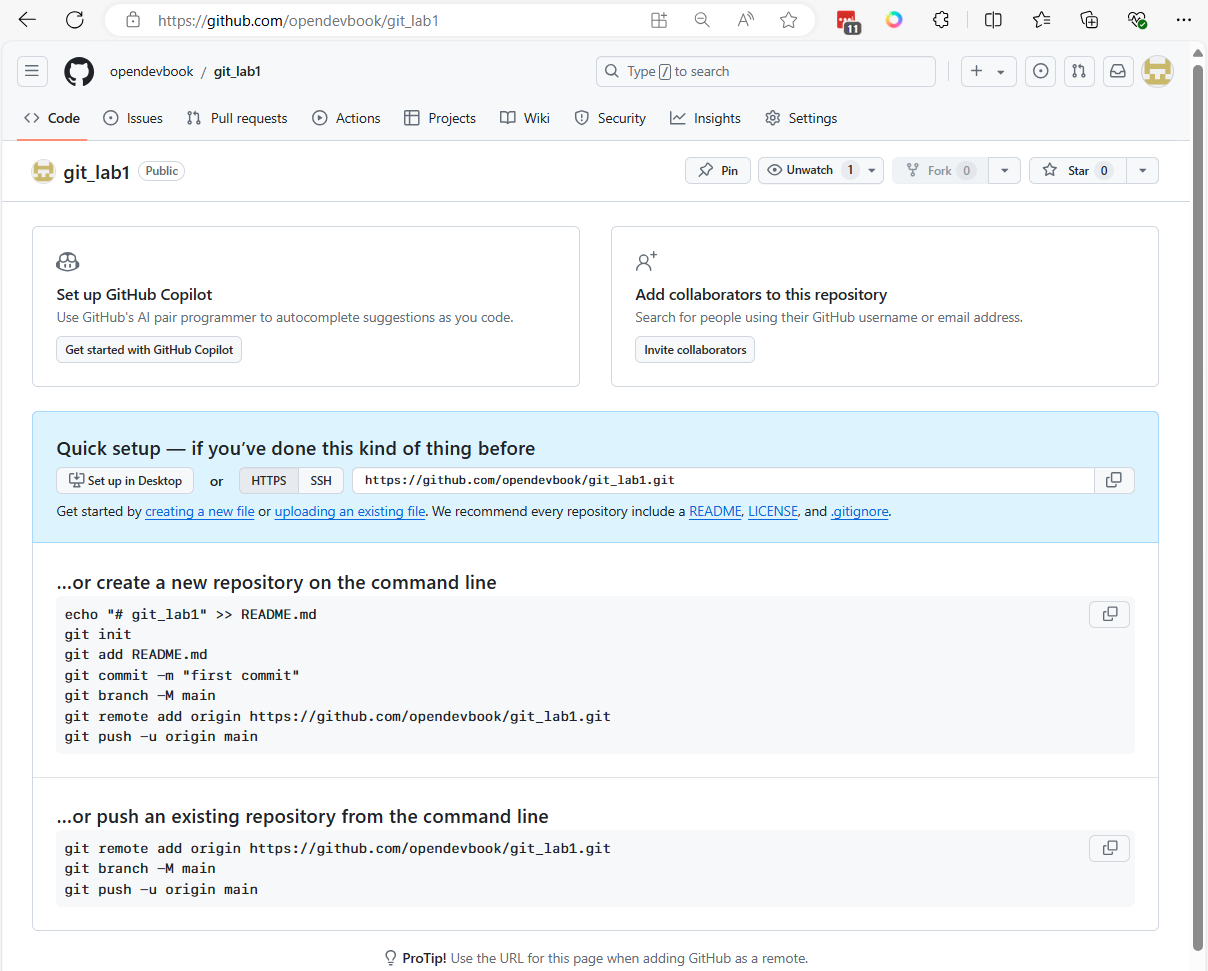
สำหรับ สร้าง repo ใหม่
echo "# git_lab1" >> README.md
git init
git add README.md
git commit -m "first commit"
git branch -M main
git remote add origin https://github.com/opendevbook/git_lab1.git
git push -u origin main
หามี Repository อยู่ แล้วก็ให้ใช้คำสั่งต่อไปนี้
git remote add origin https://github.com/opendevbook/git_lab1.git
git branch -M main
git push -u origin main
- git remote add origin
add remote repository - git branch -M main เปลี่ยนชือ branch ปัจจุบัน เป็น
mainโดย-Mflag จะเป็นการ fore ให้เปลี่ยนชื่อ - git push -u origin main ทำการ push local repository ไปยัง remote repository ใน branch ชื่อเดียวกัน กับ local และ
-uflag ทำหน้า บอกกับ git ว่าoriginrepository จะทำหน้าที่เป็น upstream
่ก่อนการ Apply คำสั่ง
หลังการสั่งคำสั่ง

คำว่า upstream repository (origin/main) หมายถึง repository ทำหน้าเก็บ Code ที่เป็น code หลัก และทำหน้าที่ sync กับ code ใน local git
Git Fork model
ทดลองการ Fork repository python
Fork https://github.com/python/cpython repository
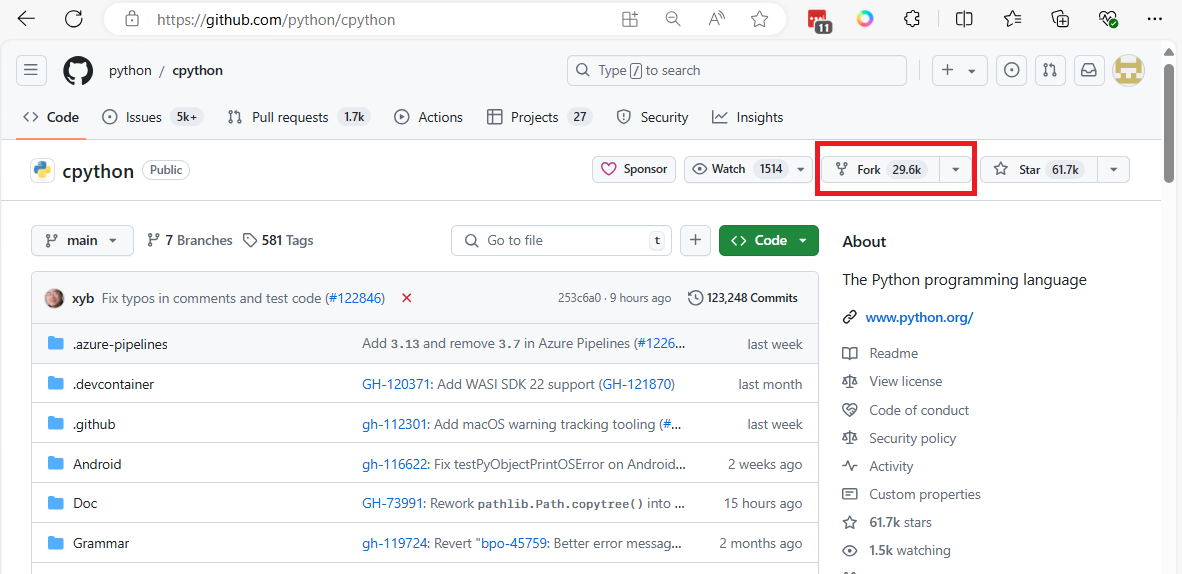 กดปุ่ม Fork
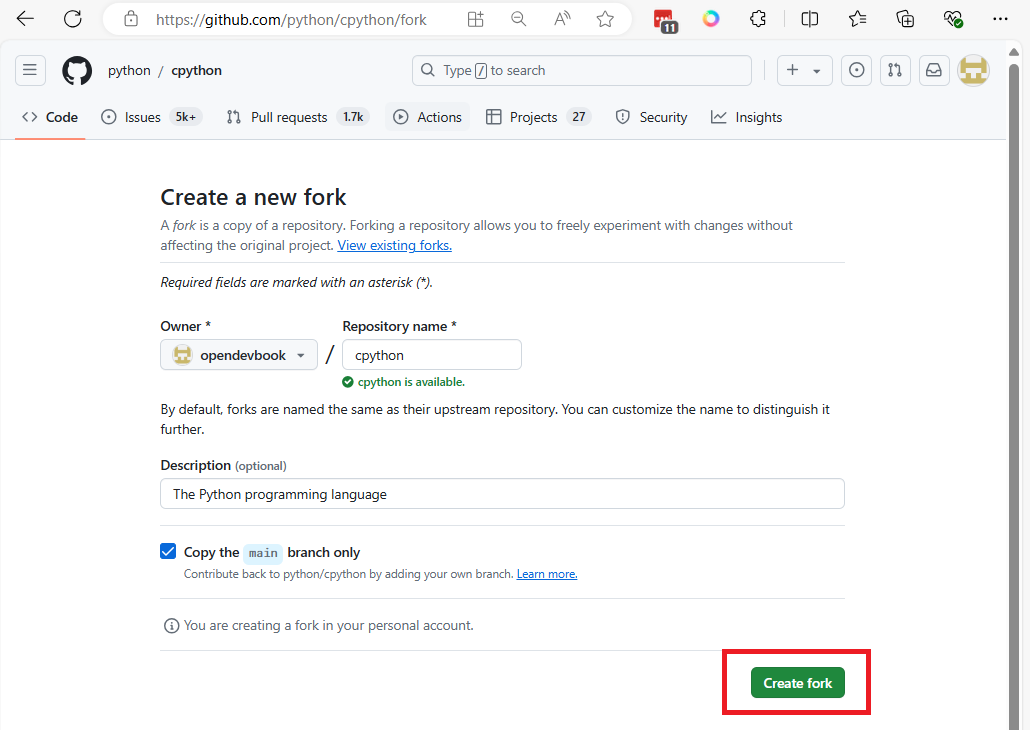
กด create fork
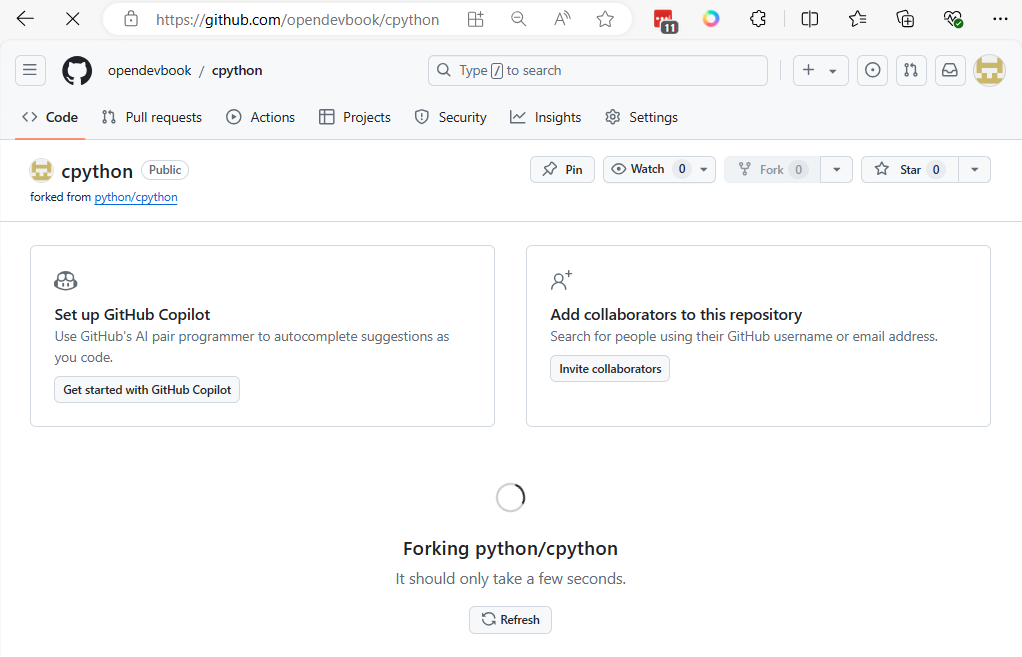
copy repo และ clone มายัง local repo
ให้เรา copy
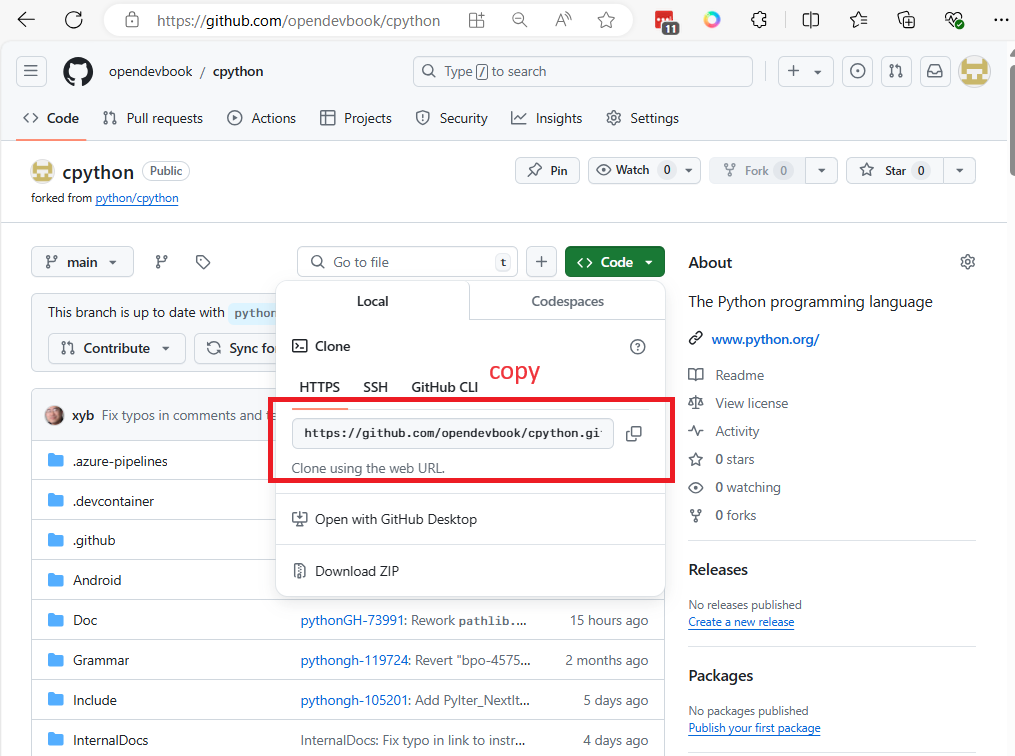
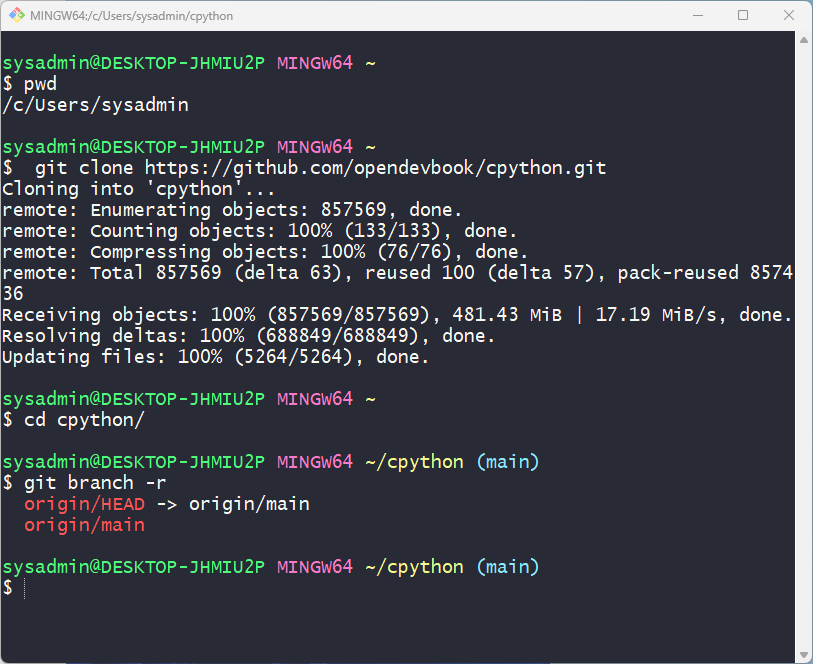
$ git clone https://github.com/opendevbook/cpython.git
$ cd cpython
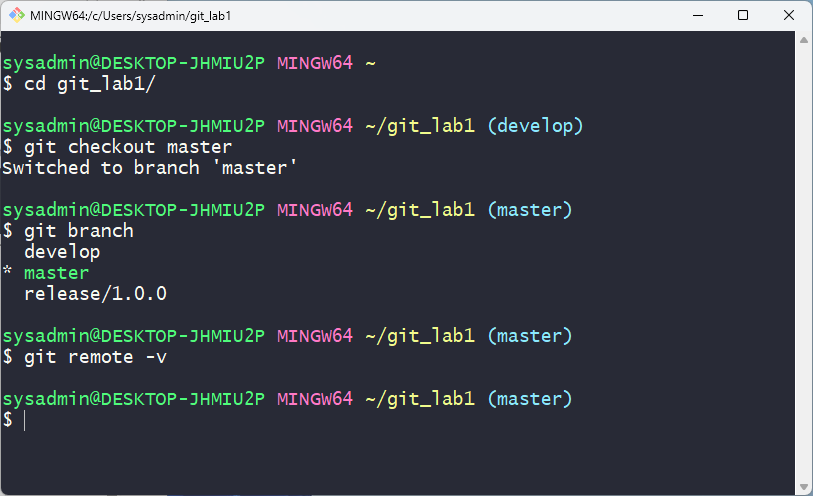
$ git branch -r
เปลี่ยน owner ให้เป็นของเรา
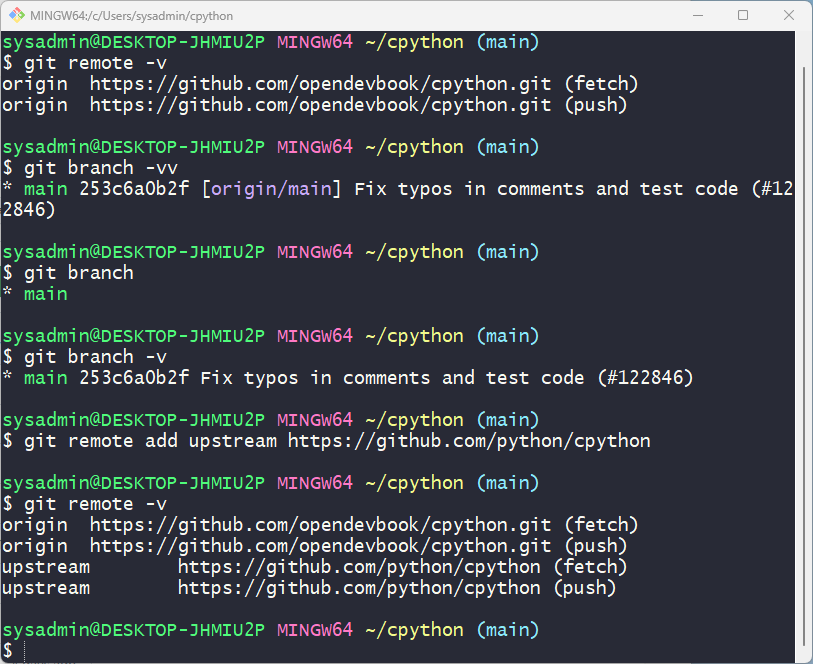
เพิ่ม upstream repository
$ git remote -v
origin  https://github.com/opendevbook/cpython.git (fetch)
origin  https://github.com/opendevbook/cpython.git (push)

$ git branch -v

$ git remote add upstream https://github.com/python/cpython
- เพิ่มที่เก็บโค้ดต้นฉบับ (upstream) เป็น remote ในที่เก็บโค้ดของคุณ
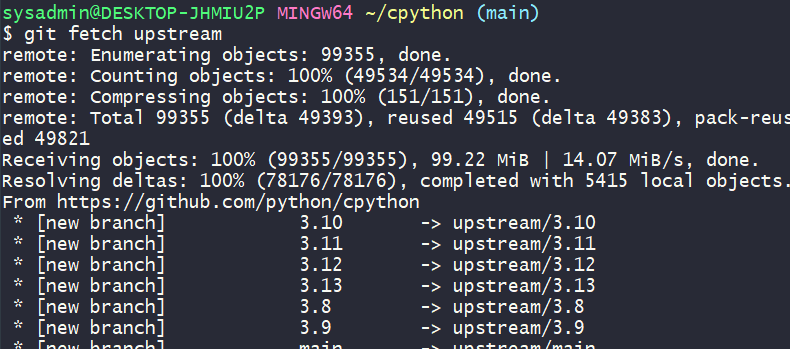
git fetch upstream
$ git fetch upstram
merge upstram เข้ากับ main ของ local
$ git merge upstream/main
- ผสานการเปลี่ยนแปลงจากสาขา main ของ upstream เข้ากับสาขาในเครื่องของคุณ
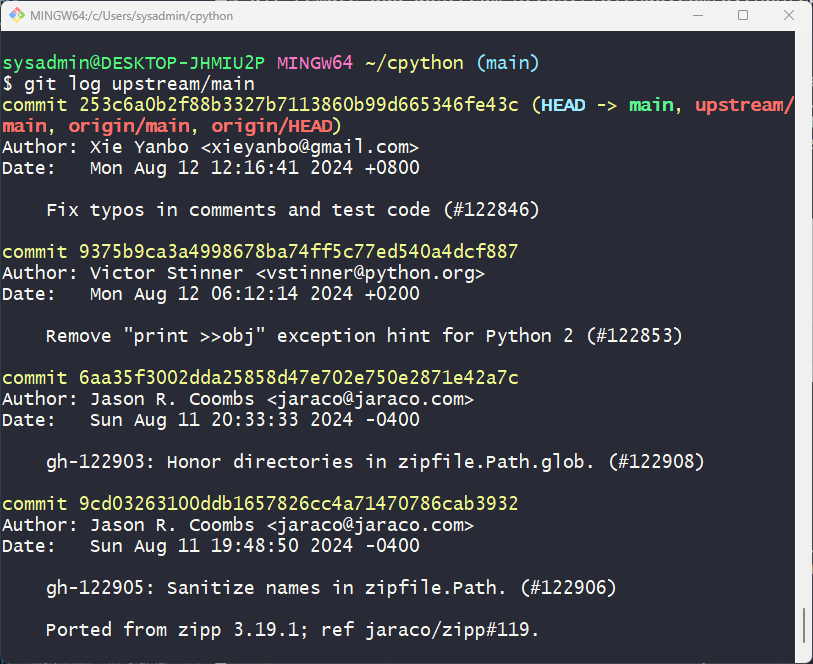
ดู commit log ของสาขา upstream
$ git log upstram/main